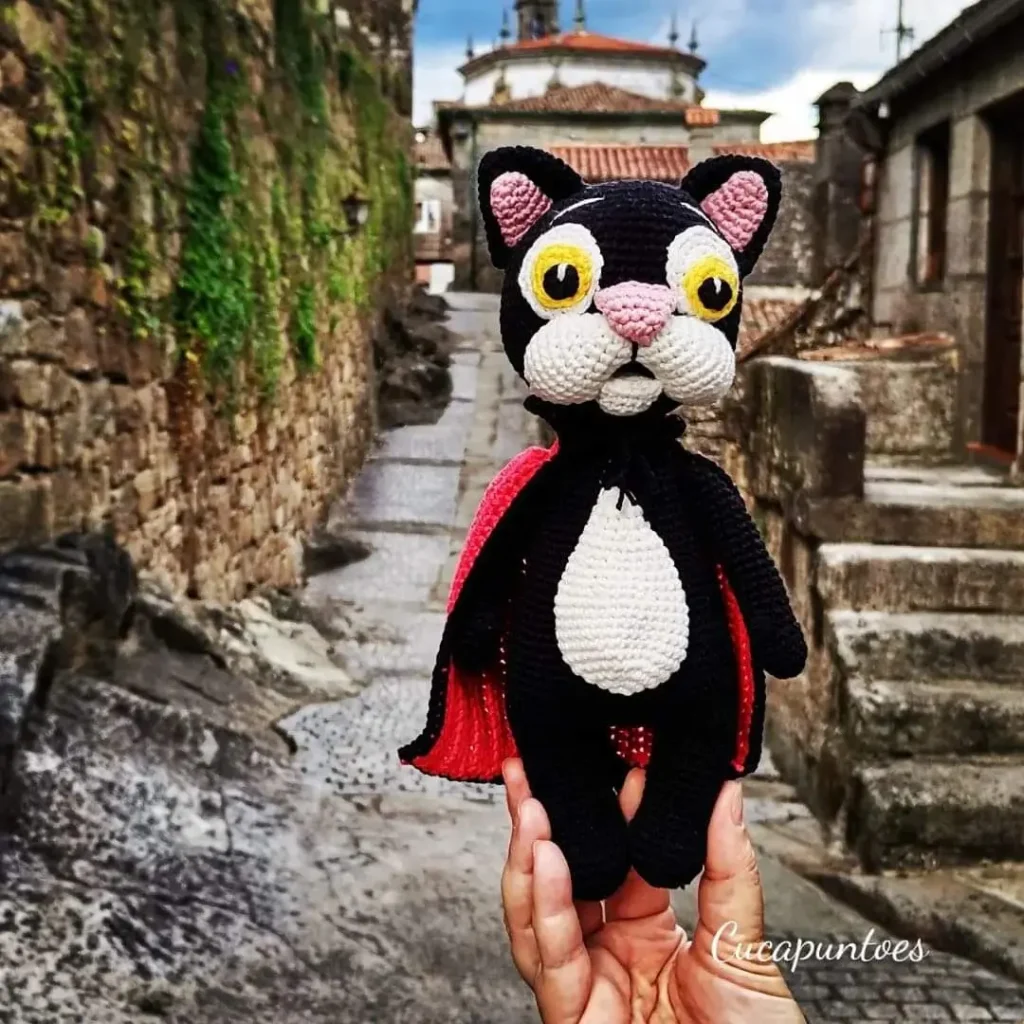
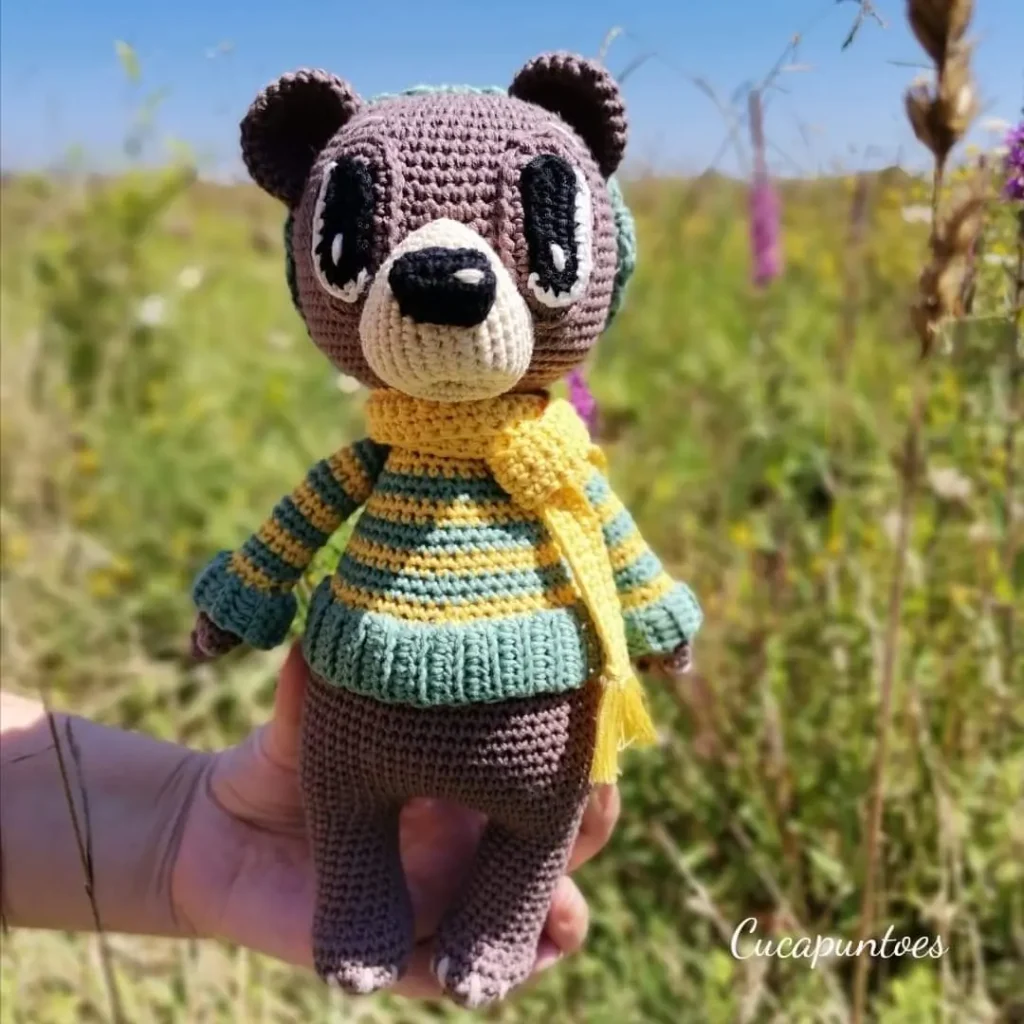
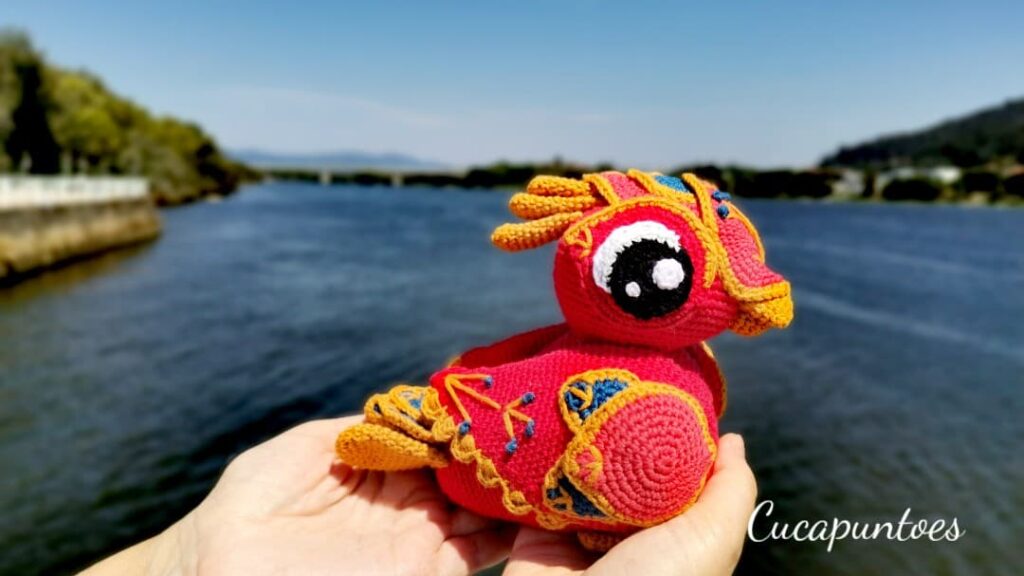
If you still don’t know my work and you have just accessed my blog, you’ll be curious to know What is a Cuquito?
As well, a Cuquito is an inhabitant of the Cucapuntoes universe and the babies are the Pequecuquitos.
This universe is a place where Fantasy reings, full of fantastic animals, adorable critters and diverse characters created wiht the magic of crochet.
Would you like to discover my amigurumi world and crochet one of my patterns?
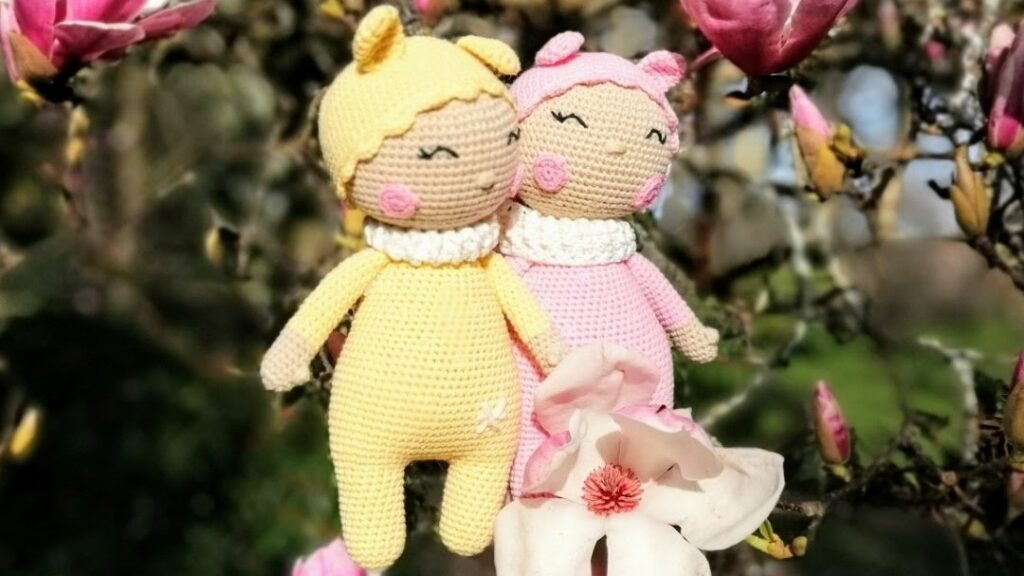
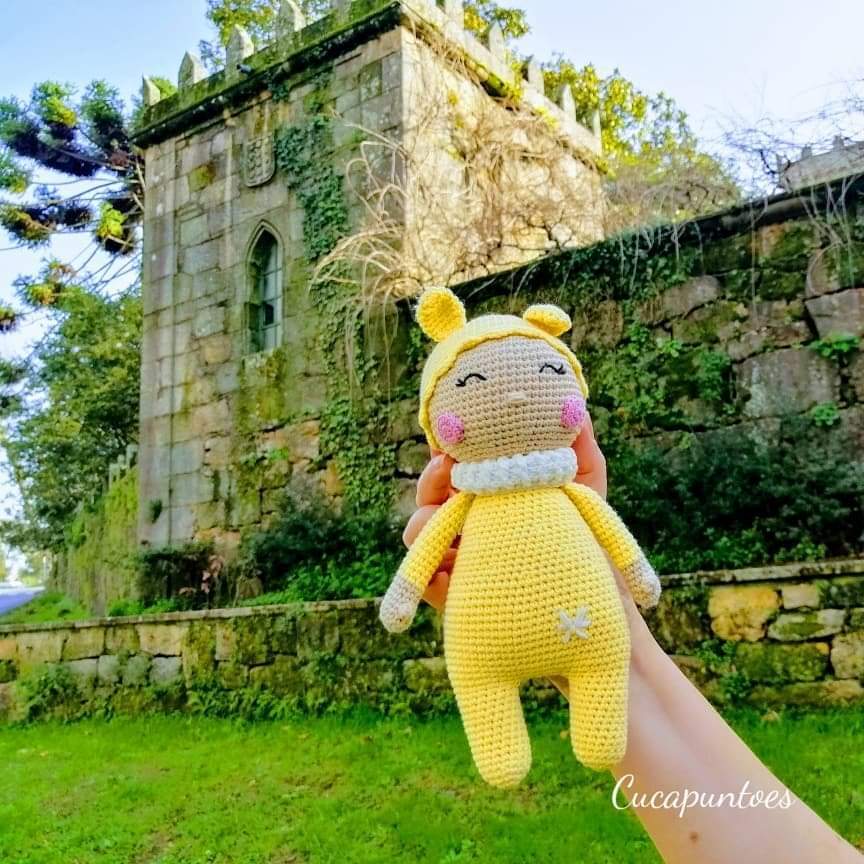
It’s very easy for you, here is a present for you, so you enjoy every stitch : this sleepy amigurumi free pattern.
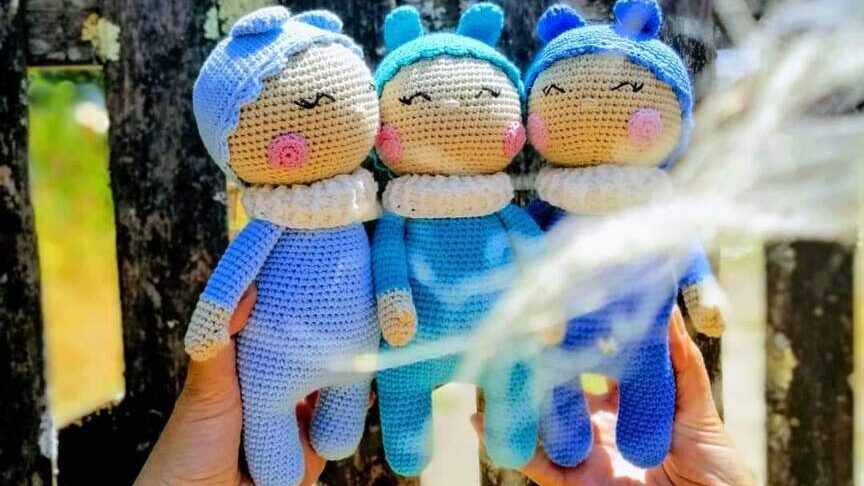
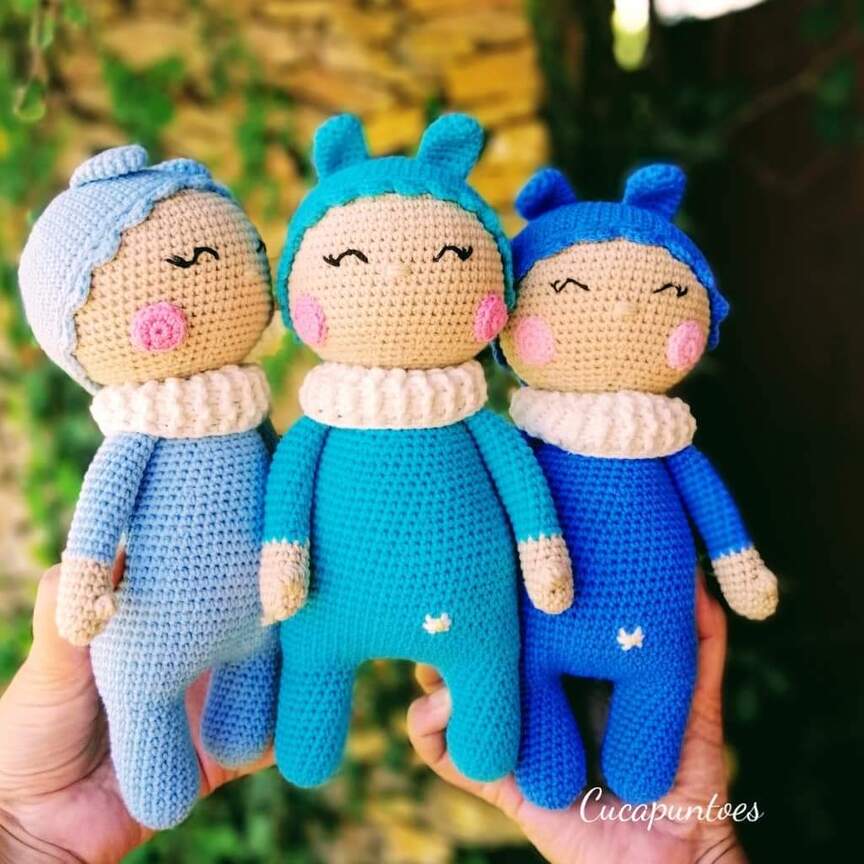
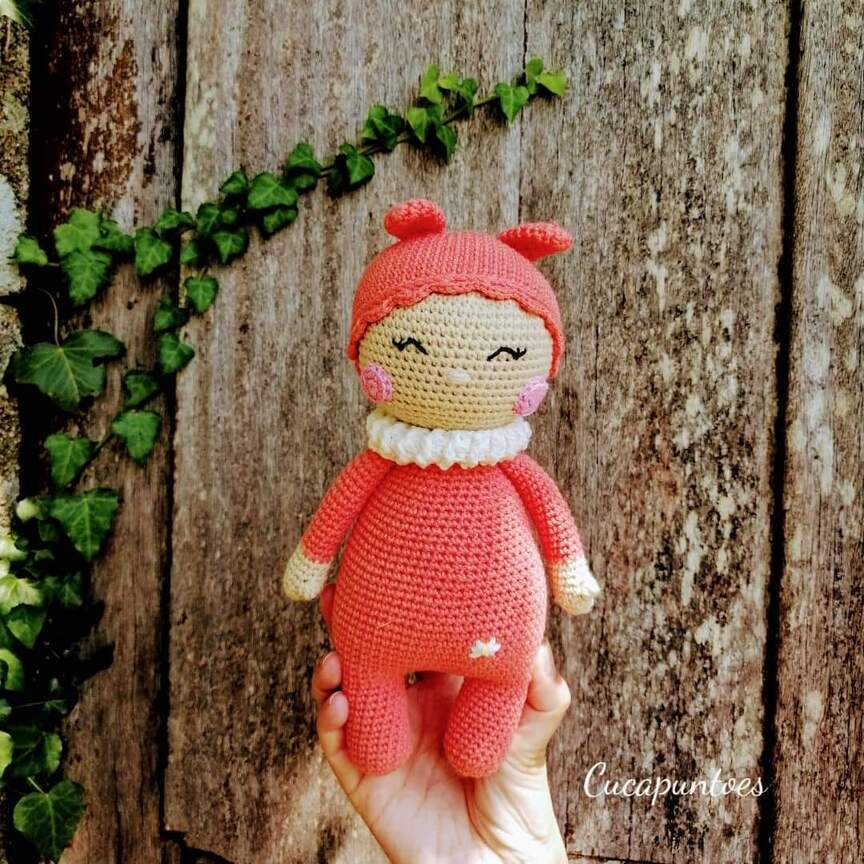
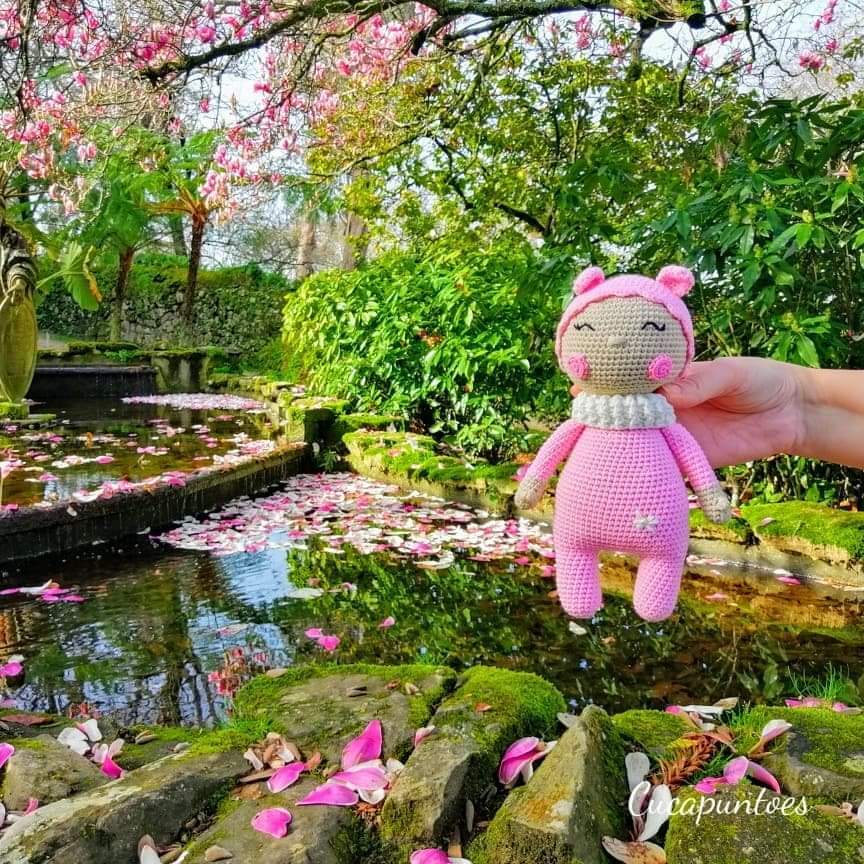
The sleepy Cuquito was the fist to be born, with his pijama and his sleeping hat.
I love to knit it for the little ones, in countless colors, and place a small jingle bell on it so they can make it sound. What color do you like? I wait for you in comments.
Materials
The example is crocheted using blue as the main color (MC), but as can be seen in photos, the combinations are multiple.
- Thread suitable for 3.5 mm hook.
- MC 50gr.
- Beige 20gr.
- White 10gr.
- Pink 2gr.
- A thinner black strand for the eyes.
- 2.5 mm. crochet hook or in accordance with the thread you use.
- Polyester fiberfill/stuffing.
- One stitchmarker or a little piece of yarn to mark the end or the beginning of a round.
- Scissors.
- Tapestry needle.
- Some pins, preferably with a round head to avoid losing them inside the doll.
- Jingle bell(optional).
ABREVIATIONS (pattern witten in US American crochet terms)
mr- magic ring
ch- chain stitch
st- stitch
sl st- slip stitch
sc-single crochet dc-double crochet
fpdc- front post double crochet bpdc-back post double crochet
bpsc-back post single crochet
bl-bobble stitch (dc5tog)
inc-increase dec-decrease BLO back loop only
(…) total number of stitches
[…] sequence to repeat
Thigs you need to know about this project
I recommend you read through the full pattern before you start.
- Skill level: Intermediate.
- Finished size: about 9.84 inches, if using the same or similar yarn.
- Technique: Work in continuous spiral, do not join or turn, you will be told when you need to close the rounds with a sl st.
Sleepy amigurumi free pattern
Head
Crocheted from top to botton in beige color.
V1. 6 sc in mr(6)
V2. 6 inc (12)
V3. [1sc, 1inc] × 6 (18)
V4. [2sc, 1inc] × 6 (24)
V5. 1sc, 1inc, [3sc, 1inc] × 5, 2sc (30)
V6. [4sc, 1inc] × 6 (36)
V7. 2sc, 1inc, [5sc, 1inc] × 5, 3sc (42)
V8. [6sc, 1inc] × 6 (48)
V9. 3sc, 1inc, [7sc, 1inc] × 5, 4sc (54)
V10. [8sc, 1inc] × 6 (60)
V11. 4sc, 1inc, [9sc, 1inc] × 5, 5sc (66)
V12-22. 66 sc (66)
V23. 4sc, 1dec, [9sc, 1dec] × 5, 5sc (60)
V24. [8sc, 1dec] × 6 (54)
V25. 3sc, 1dec, [7sc, 1dec] × 5, 4sc (48)
V26. [6sc,1dec] × 6 (42)
V27. 2sc, 1dec, [5sc, 1dec] × 5, 3sc (36)
V28. [4sc, 1dec] × 6 (30)
V29. 1sc, 1dec, [3sc, 1dec] × 5, 2sc (24)
Fasten off.
Cut thread leaving a long tail for sewing.
Stuff firmly
Hat
Crocheted from top to botton in MC.
V1. 6 sc in mr (6)
V2. 6 inc (12)
V3. [1sc, 1inc] × 6 (18)
V4. [2sc, 1inc] × 6 (24)
V5. 1sc, 1inc, [3sc, 1inc] × 5, 2sc (30)
V6. [4sc, 1inc] × 6 (36)
V7. 2sc, 1inc, [5sc, 1inc] × 5, 3sc (42)
V8. [6sc, 1inc] × 6 (48)
V9. 3sc, 1inc, [7sc, 1inc] × 5, 4sc (54)
V10. [8sc, 1inc] × 6 (60)
V11. 4sc, 1inc, [9sc, 1inc] × 5, 5sc (66)
V12-20. 66 sc (66)
V21. 66 sc BLO (66)
V22. [5sc inc, skip 1 st, 1slst] repeat until the end of the round to draw the edge.
Fasten off.
Cut leaving a long tail for sewing.
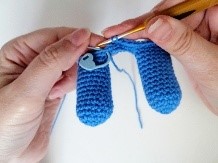
Ears
Make 2.
Crocheted top to bottom in MC.
V1. 6 sc in mr (6)
V2. 6 inc (12)
V3-8. 12sc (12)
Fold in a half and join with 6 sc across through the stitches.
Fasten off and cut the thread leaving a long tail for sewing.
Body
Crocheted down-top in MC.
V1. 6 sc in mr (6)
V2. 6 inc (12)
V3. [1sc, 1inc] × 6 (18)
V4-15. 18 sc (18)
Fasten off and cut the thread leaing a long tail for sewing.
Crochet the second one but don’t cut the yarn, we will proceed to connect the legs.
V16. Make 6sc and join the legs with sl st into the last stitich of the first leg, this one will be the first st of the round, move up the stitch marker. Continue crocheting the body, sc in the next 17sc in the first piece, sc in the next 6ch, sc in the next 18st of the second leg and sc in the next 6ch (48)
V17. [3sc, 1inc] × 12 (60)
V18-19. 60 sc (60)
V20. 20 sc, 12 sc BLO, 28 sc (60) the BLO stitches should be centred between the legs
V21-30. 60 sc (60)
V31.[8sc, 1dec] × 6 (54)
V32-33. 54 sc (54)
V34. [7sc, 1dec] × 6 (48)
V35-37. 48 sc (48)
Stuff as you go.
V38. [6sc, 1dec] × 6 (42)
V39-41. 42 sc (42)
V42. [5sc, 1dec] × 6 (36)
V43-44. 36 sc (36)
V45. [4sc, 1dec] × 6 (30)
V46-47. 30 sc (30)
V48. [3sc, 1dec] × 6 (24)
V49. 24 sc (24)
Fasten off and cut the thread leaving a long tail for sewing.
Close the gap between the legs using the yarn tail left on the first leg.
Fasten off and lose the thread inside the piece.
Back pocket
In Mc.
V1. Return to work in 20 round of the body. Insert the hook in the front of the first of the 12 stitches that we had worked only behind, leave a long tail for sewing . Sc in all stitches. Turn ch1.
V2-11. 12 sc, turn ch1 (12)
Fasten off leaving a long tail for sewing.
With a tapestry needle sew sides of the pocket to the body. Fasten it with pins that are strainght.
Fasten off and lose the thread inside the piece.
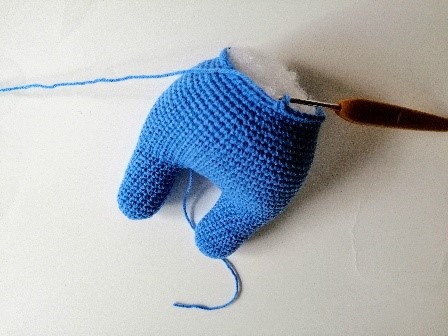
Arms
Make 2.
In beige.
V1. 6 sc in mr (6)
V2. 6 inc (12)
V3-4. 12 sc (12)
V5. • left arm 1bl, 11sc (12)
• right arm 5sc, 1bl, 6sc (12)
V6-8. 12 sc (12)
Change to MC
V9-25. 12 sc (12)
Stuff lightly. Fold in a half and join with 6sc across through the stitches.
Fasten off and cut thread leaving a long tail for sewing.
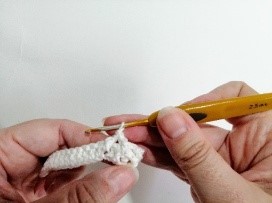
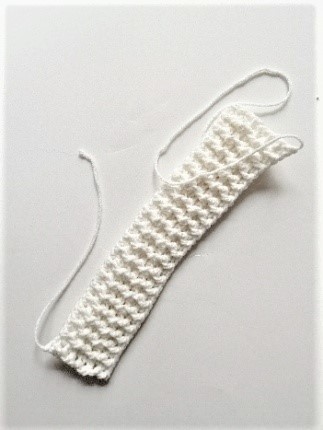
Collar
In white.
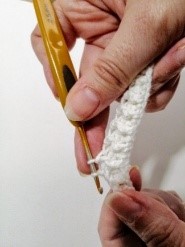
V1. 42ch, turn.
V2. Start in the 3rd ch from the hook, 40dc, turn.
V3-6. 2ch (count as first dc), [fpdc into next dc, bpdc into the next dc] repeat along, turn (41) Fasten off and cut thread leaving a long tail for sewing.
Cheek
Make 2. In pink.
V1. 6 sc in mr (6)
V2. 6 inc (12)
Fasten off and cut the thread leaving a long tail for sewing.
Assembly and finishing details
Now that we have all the pieces we can proceed with the assembly.
- Sew the head to the body. It’s time to introduce the bell. For fixing the head you must lose the MC thread inside the head, se to the body with beige yarn.
- Secondly, place the arms on both sides of the body with pins and sew 3 rows down from the join with the head, and 10 stitches apart. Thumbs facing froward.
- The collar is placed by sewing it on the back, then folding in a half and fixing with a couple of stitches.
- Place the hat between 11th and 25th round, leave a tail on back. Sewing around the edge without squeezing. Fasten off and lose the thread inside head.
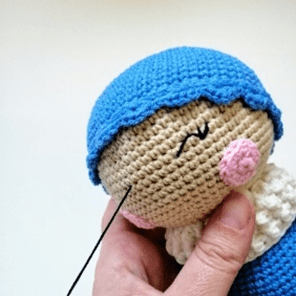
- Place the cheeks on both side of the face between 19th and 24th round with a separation of 12 stitches. Sew around and lose the excess thread inside the piece.
- Embroider the eyes using black cotton yarn, on 16th round and with a separation of 6 stitches. Place the nose between the eyes, two rounds down, with a width of two holes making 5 stitches in beige thread.
- Join the ears on 10th round of hat, with a separation of 7 stitches.
- Finally embroider a small flower on the left side, on 23rd of body with white and yellow yarn.

Many thans to Eva @cositaseva, Megan @theknottedtales, Deniz @denizinellerinden y Del Sand @les_petites_mailles_del_s for having the kindness to test this pattern.
You are ready with Cuquito.
I hope you enjoyed making him as much as I enjoyed making this pattern!
Don’t forget, if you have any questions or need clarifications on any of the instructions, please feel free to contact me at hola@cucapuntoes.es, I’m here to help you!
I would also love to see your version of Cuquito, so if you’re on Instagram use #cucapuntoes #sleepycuquito or mention @cucapuntoes in your post. MANY THANKS!
Did you like this pattern?
If you liked my sleeping cuquito amigurumi pattern, you can invite me to a yarn so that I can continue creating beautiful things and share them with you.
Do you want the Premium version of this pattern? Download the instant PDF file with detailed explanations, step-by-step images and video tutorials.